Achieving a professional-grade vehicle wrap in Dubai requires more than just high-quality vehicle stickers. It demands a technical understanding of how the UAE’s extreme UV radiation and high ambient temperatures affect vinyl adhesion.
Flawless vehicle sticker installation depends not only on premium materials but also on technical expertise. A flawless vehicle wrap relies on a complete, standardized vehicle branding process. From start to finish—including measurement, material selection, printing, and installation—every step plays a critical role in delivering a professional and durable result.
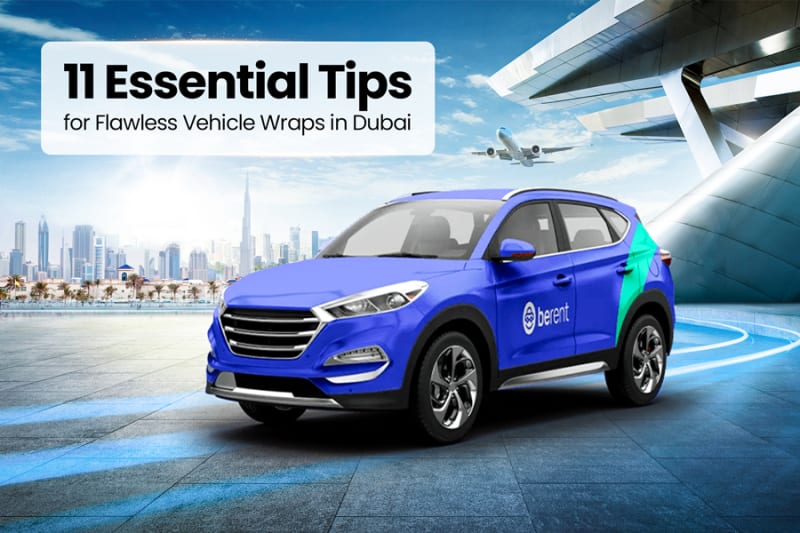
In this article, we highlight the most important vehicle wrap tips based on our 11 years of hands-on experience and insights from global industry leaders. From material selection to post-installation curing, these 11 checkpoints help ensure your branding withstands the desert climate without lifting, bubbling, or fading.
Top 10 Vinyl Wrap Mistakes at a Glance
- Poor surface preparation
- Skipping proper degreasing
- Wrapping over dents, rust, or damaged paint
- Using calendared vinyl on complex curves
- Ignoring the post-heat process
- Installing in incorrect temperature conditions
- Poor edge sealing
- Overstretching vinyl during installation
- Ignoring RTA vehicle branding guidelines in Dubai
- Poor design layout and visual clutter
Material Selection
Material selection is a crucial step in vehicle branding in Dubai. Choosing the right materials requires evaluating several factors specific to the region, such as weather conditions, adhesive strength, flexibility, print performance, and overall durability. You can find a detailed guide on selecting the right materials in our blog: https://printajo.com/blog/choosing-the-right-vehicle-sticker-dubai/
Poor Surface Preparation
I’ve seen installers skip proper surface preparation to save 30 minutes, only to spend three hours later fixing bubbles and edge failures. Avoid that mistake.
A vinyl wrap installation in Dubai is only as reliable as the surface beneath it. Dust, sand, and microscopic contaminants are major threats to long-term adhesion.
Here are important steps to prepare the vehicle surface correctly:
- Wash with a pH-neutral automotive shampoo. Rinse thoroughly—any soap residue can weaken adhesion.
- Use a clay bar on the entire surface. Dubai roads leave iron particles, tar, and industrial fallout embedded in the paint. A clay bar removes these contaminants effectively.
- Wipe down with a 50:50 solution of isopropyl alcohol and distilled water using lint-free microfiber cloths. This eliminates wax, silicone, and oils that may remain after washing.
- Remove badges, door handles, and trim pieces whenever possible. Wrapping around hardware creates weak points that are more likely to fail in heat and humidity.
- Repair paint chips, rust, or dents before installation. Vinyl does not conceal imperfections—it often makes them more visible under direct sunlight.
Before starting installation, inspect the vehicle by hand and visually confirm that it is clean, dust-free, and completely dry. Moisture trapped under the film can lead to adhesive failure. Ensure the installation area is dry and well-ventilated so the pressure-sensitive adhesive (PSA) bonds properly.
Measuring & Templating
Accurate measurements are one of the most important aspects of professional vehicle branding. Incorrect measurements waste materials and increase project costs. Measure all panels carefully, including obstacles, non-wrap areas, emblems, and trimming zones. Maintain at least 5 cm of overlap, plan proper print tiling, and minimize joins wherever possible.
Refer to our guidelines for preparing vehicle sticker printing files: https://printajo.com/blog/car-sticker-printing/
Over Stretch and Shrink
With more than 10 years of vehicle wrap installation experience in Dubai, I can confidently say that overstretching and overshrinking are two of the most common causes of early wrap failure in the UAE climate. Let’s examine this both technically and practically.
Problems Caused by Overstretching
- Adhesive layer becomes thin and weak
- Edges begin lifting within months
- Vinyl attempts to return to its original shape due to material memory
- Corners curl and seams split
- Color distortion in printed areas
- Thinning of the vinyl film
- Air bubbles and tension marks
- Shortened lifespan (often failing within 6–18 months in extreme heat)
Problems Caused by Overshrinking
- Edge lifting after heat exposure
- Visible paint lines along panel edges
- Gaps forming around trims and corners
- Cracking in deep recesses
- Dirt accumulation along exposed adhesive lines
- Adhesive breakdown due to heat stress
- Uneven and unprofessional appearance
- Early need for wrap replacement
Both overstretching and overshrinking can be prevented through correct material selection, controlled installation techniques, and proper post-heating procedures according to manufacturer guidelines.
Edge Finishing and Seal Techniques
Edges and curves are among the most common areas for peeling and bubbling. Proper edge finishing requires experience and technical understanding. Each vehicle has unique curves and contours, so edge treatment must be adapted accordingly. Without professional expertise and adherence to standard techniques, edge finishing will not be smooth or durable.
Effective edge finishing combines proper heat control, correct overlapping, precise cutting, careful bending, and the use of appropriate tools and sealers such as primer. These areas are the most frequent failure points if handled incorrectly.
Finishing Sequence:
- Clean the return edges (hidden panel sides) with IPA twice.
- Deep tucking: Wrap the vinyl at least 5mm–10mm around the panel edge.
- Edge sealer: In high-impact areas such as wheel arches and side skirts, apply a thin bead of edge sealer to prevent sand abrasion from weakening the adhesive over time.
Squeegee & Blade Protocol
Squeegee pressure and blade technique are more important than many installers realize. Using improper tools during installation can lead to serious quality and durability issues.
Problems Caused by Using an Improper Blade
- Paint scratches or damage
- Uneven trimming lines that look unprofessional
- Damage to rubber seals and window gaskets
- Vinyl tearing instead of clean cutting
- Exposed edges that lift prematurely
- Risk of rust if paint is accidentally cut
- Visible knife marks under reflective light
Professional installers use precision blades and tools such as knifeless tape to minimize these risks.
Problems Caused by Using an Improper Squeegee
- Air bubbles trapped under the vinyl
- Drag marks or surface scratches
- Uneven adhesive bonding
- Damage to laminate on printed graphics
- Silvering caused by micro air pockets
- Weak seams and edge lifting
- Wrinkles and tension marks from improper pressure
Post-Installation Care
A newly installed wrap is particularly vulnerable during the first 24–48 hours. The adhesive typically requires 24–72 hours to reach approximately 90% of its bonding strength. Actions taken during this period directly impact long-term durability.
Professional aftercare guidelines for commercial vehicle branding projects include:
- Do not wash the vehicle for at least 7 days.
- Avoid high-speed driving during the first 48 hours if possible.
- Do not expose the vehicle to heavy rain or pressure washing immediately.
- Limit prolonged parking under extreme direct sunlight during the initial curing period.
- Do not apply wax or polish to the wrap.
- Avoid sudden temperature changes, such as moving the vehicle from a 20°C indoor bay directly into 45°C sunlight.
Quick Installer Checklist
- Surface decontaminated (mechanical and chemical cleaning completed)
- Final IPA wipe-down performed
- Installation environment maintained at 18°C–24°C
- Panel overlaps oriented rear-to-front (minimum 10mm)
- All recessed areas post-heated to 90°C
- Return edges cleaned and tucked (minimum 5mm)
- Vehicle allowed to cure indoors for 24 hours before sun exposure
Frequently Asked Questions (FAQ)
1. Why is vehicle wrap installation more challenging in Dubai?
Vehicle wrap installation in Dubai is more demanding because of extreme UV radiation and high ambient temperatures. Heat affects vinyl flexibility and adhesive bonding. Without proper material selection, controlled installation, and correct post-heating, wraps can lift, shrink, or fade prematurely.
2. What is the most common reason vehicle wraps fail?
Poor surface preparation is the number one cause of vehicle wrap failure. Dust, sand particles, oil residue, wax, and moisture prevent proper adhesive bonding. Even small contaminants can cause bubbles, edge lifting, and long-term adhesion problems.
3. How should a vehicle be prepared before wrapping?
Proper preparation includes:
- Washing with pH-neutral automotive shampoo
- Clay bar treatment to remove embedded contaminants
- Wiping with a 50:50 isopropyl alcohol and distilled water solution
- Removing badges and trims when possible
- Repairing dents, rust, and paint damage
The vehicle must be completely dry, dust-free, and installed in a controlled environment.
4. Does vinyl wrap hide dents or scratches?
No. Vinyl does not hide imperfections. In fact, under Dubai’s strong sunlight, dents, rust spots, and paint chips often become more visible after wrapping. Surface repairs should always be completed before installation.
5. Why is correct material selection important in Dubai?
Dubai’s climate requires materials that can handle heat, UV exposure, and sand abrasion. Factors such as adhesive quality, vinyl flexibility, print durability, and weather resistance must be considered. Using the wrong material can significantly shorten the wrap’s lifespan.
6. What happens if vinyl is overstretched during installation?
Overstretching weakens the adhesive layer and thins the vinyl film. This can lead to:
- Edge lifting within months
- Shrink-back due to material memory
- Curling corners and split seams
- Color distortion
- Reduced lifespan, especially in high heat
In the UAE climate, overstretched vinyl may fail within 6–18 months.
7. What is overshrinking in vehicle wrapping?
Overshrinking occurs when vinyl is overheated or improperly post-heated, causing it to contract excessively. This results in:
- Visible paint lines
- Gaps around trims
- Cracking in recess areas
- Adhesive failure
- Premature replacement
Proper heat control prevents this issue.
8. Why are edges and curves the most common failure points?
Edges and curves experience the highest tension and environmental exposure. Without proper cleaning, deep tucking (5–10mm minimum), correct heating, and edge sealing, these areas are prone to peeling and bubbling—especially in sandy and high-temperature environments.
9. Can using the wrong blade damage a vehicle during wrapping?
Yes. Improper or dull blades can scratch paint, cut rubber seals, leave visible knife marks, and increase the risk of rust if the paint layer is damaged. Professional installers use precision blades and knifeless tape to protect the vehicle.
10. What problems occur when using an improper squeegee?
Using the wrong squeegee can cause:
- Air bubbles
- Surface scratches
- Silvering (micro air pockets)
- Weak adhesive bonding
- Wrinkles and tension marks
Correct pressure and proper tools are essential for long-term durability.
11. How long should a vehicle wrap cure after installation?
The adhesive typically requires 24–72 hours to reach around 90% bonding strength. During this time, the vehicle should not be washed, pressure cleaned, or exposed to extreme heat changes.
12. How soon can I wash my vehicle after wrapping?
You should wait at least 7 days before washing the vehicle. Avoid high-pressure washing and automatic brush washes, as these can damage edges and weaken adhesion.
13. What is the ideal installation temperature for vehicle wrapping?
The recommended installation temperature is between 18°C and 24°C. Stable environmental conditions ensure proper adhesive bonding and reduce the risk of stretching or shrinking issues.
14. Why is post-heating important in vehicle wrapping?
Post-heating stabilizes the vinyl, especially in recessed areas and curves. Heating to approximately 90°C helps eliminate material memory and reduces the risk of shrink-back in high-temperature environments like Dubai.
15. What are the key checkpoints for a professional vehicle wrap?
A professional installation should include:
- Full surface decontamination
- Final IPA wipe-down
- Controlled temperature environment
- Proper panel overlap (minimum 10mm)
- Recess areas post-heated to 90°C
- Clean and tucked return edges
- 24-hour indoor curing before sun exposure
Ready to elevate your brand’s mobile presence? Explore our portfolio of high-durability vehicle branding installations.